

Aluminum Clothes Rail Installation Guide: 4 Simple Steps for Sturdy Closets
Upgrade your closet with a durable, sleek Aluminum Clothes Rail—follow this step-by-step guide for easy installation (no pro skills needed). The guide uses matching hardware, ensures stability, and gets your Aluminum Clothes Rail ready in minutes.
Yanghanhan
11/24/20252 min read
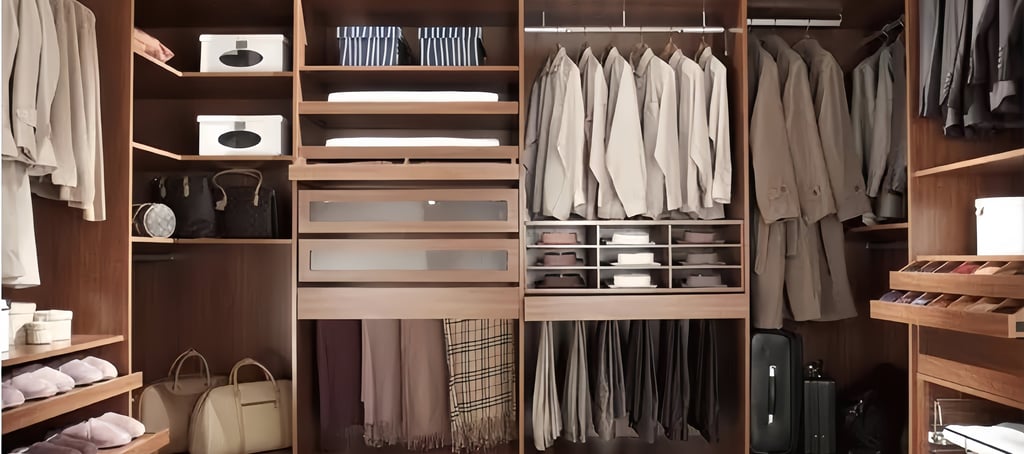
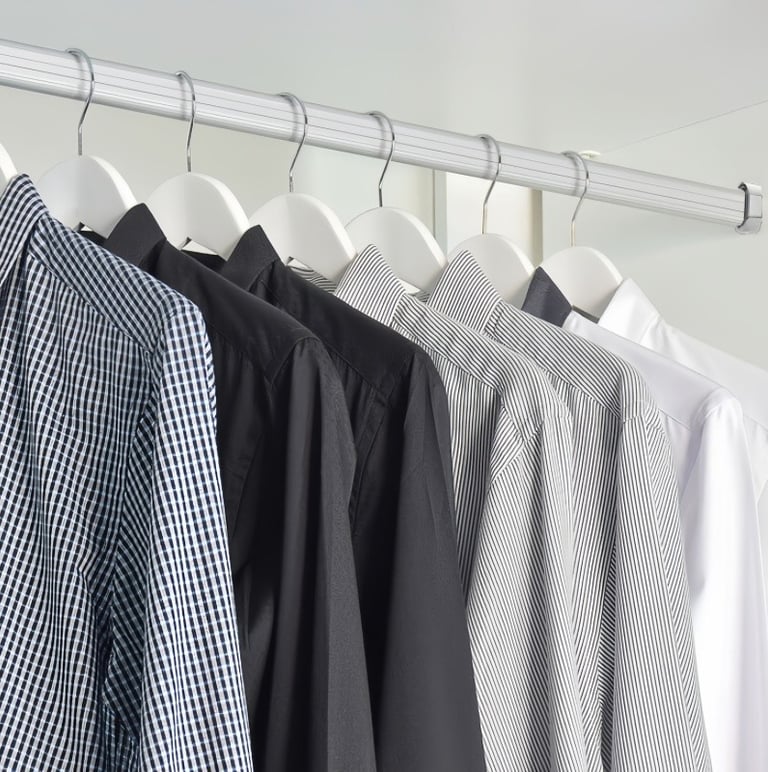
Choosing an aluminum alloy clothes rail is a surefire choice for upgrading your wardrobe. It’s durable, minimalist, and balances sturdiness with aesthetic appeal. No need to worry about installation just yet – the following method can be done in just a few steps, with no professional skills required throughout the process.
First, gather one basic tool: a screwdriver (matching the hardware in your Aluminum Clothes Rail kit). Most flange-style Aluminum Clothes Rail sets include all parts: flange bases, housing, and the Aluminum Clothes Rail itself.
Step 1 : Secure the Flange Base
Separate the flange components first. Take the flange base and fasten it firmly to your cabinet/closet wall with the included screws (use your screwdriver here). This builds the stable foundation for your Aluminum Clothes Rail.
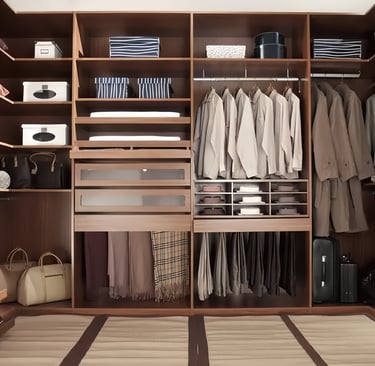
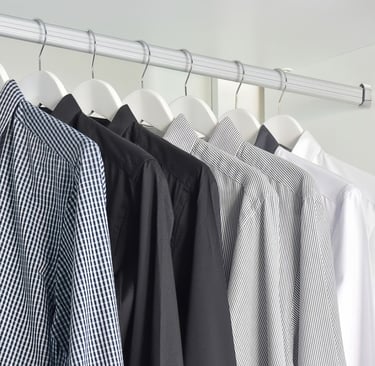
Step 2 (Match Photo 2): Slide on the Flange Housing
Next, slide the flange housing onto one end of your Aluminum Clothes Rail. Ensure it fits snugly—this piece will lock the Aluminum Clothes Rail in place later.
Step 3 : Insert the Aluminum Clothes Rail
Now, insert the end of the Aluminum Clothes Rail (with housing attached) into the pre-installed flange base. Push gently until the Aluminum Clothes Rail sits securely in the base’s slot.
Step 4 : Lock the Flange Housing
Finally, snap the flange housing (on the Aluminum Clothes Rail) into the base—you’ll hear a click when it locks. This keeps your Aluminum Clothes Rail stable and prevents sliding.
Double-check the base is level to keep the Aluminum Clothes Rail straight.
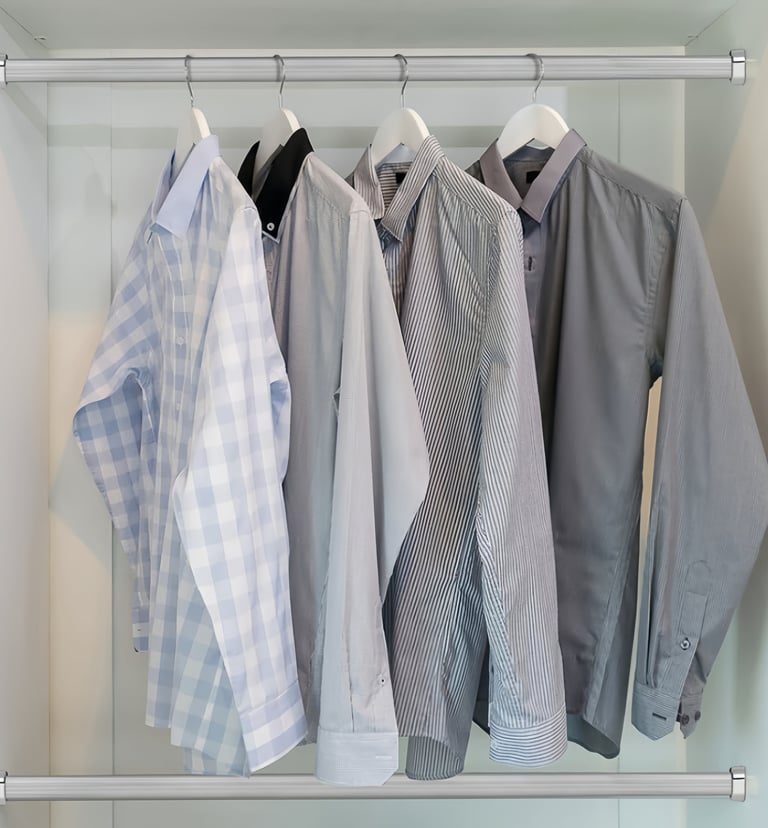
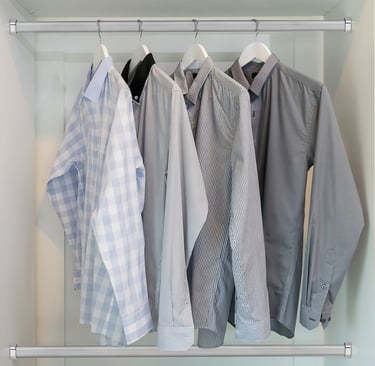
Most flange-style Aluminum Clothes Rail holds 25–30kg (perfect for coats/dresses).